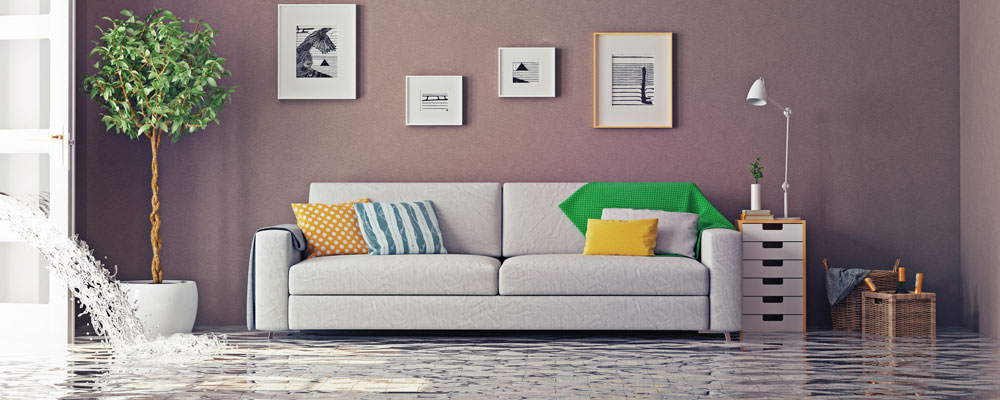
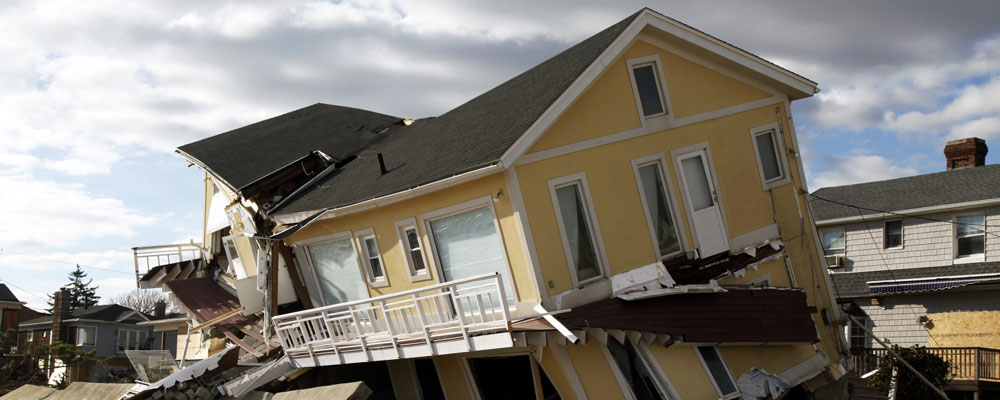
Removing water damage from your home is a necessity. The longer the water sits the greater the chance of long term damage. To start, excess water must be thoroughly removed from the entire floor before structural drying begins. Before the dry out begins you should have a battle plan. Knowing ahead of time what you are going to be doing to dry-out and dehumidify will greatly reduce the cost of the process.
This is a delicate balance the faster you can get started the less structural drying time will be needed and the chance of mold growth is reduced, but if you start without a clear idea of where things are going you can make make the mold growth worse. It’s important to make and concise decisions at the early stage of cleanup to balance the factor of time and planning.
The time saved from using an applied structural drying and dehumidification plan will help building occupants return to their normal daily routine as fast as safely possible.
Restoration 1 utilizes a drying methodology called Applied Structure Drying a.k.a. Vortex Drying or Top Down Drying.
What Is Applied Structure Drying?
Applied Structure Drying is the quickest and most thorough way to dry a building structure through non-destructive methods. Or in other words fire may dry thing faster but you won’t have much left over.
Step 1 -Water Extract the Floor
We will need to maximize the removal of water from carpet and padding by using the latest technology extractor equipment. This equipment will remove the water out of the carpet and pad without removing, disturbing or lifting the carpet and padding. Leaving the pad and carpet undisturbed is always plan a. Unfortunately in some cases depending on the amount of water and the time it has been in place, it may be necessary to remove the carpet and padding to save the underlying building structure from lasting water damage.
Step 2 – Vortex drying
With the floor dry, the next step is to set up turbo drying fans in such a configuration that creates a vortex air flow that draws the moisture out of the flooring and building structure. This will pull water like a giant air vacuum from the building.
Step 3 – Dehumidify
With our vortex having done its job. Next we need to properly select and apply dehumidification equipment. Restoration 1 uses high efficiency LGR and desiccant dehumidifiers to remove the moisture in the air of the building.
Daily monitoring, charting and adjusting the drying process will reduce the drying time inside the building. We use Psychrometric charting to take the guess work out of structural drying. (Psychrometry is the study of atmospheric air and its associated water vapor.) Daily adjustments of the drying equipment is required for maximum effectiveness.
What Are the Benefits of Using the Applied Drying Process?
- Quicker drying time – most cases in 3 days.
- Quicker claim closure time due to less reconstruction requirements of the building.
- Property occupants quickly returning to regular routine.
- Lower claim costs due to: Non-destructive drying processes.
- No carpet or pad replacement. (In most cases) Mold prevention steps used during every loss.

